Optimize Timers with A/B Testing
Learn the science of A/B testing countdown timers and unlock maximum email conversion potential.
Create Your Timer — Free 10,000 free impressions a month · No watermark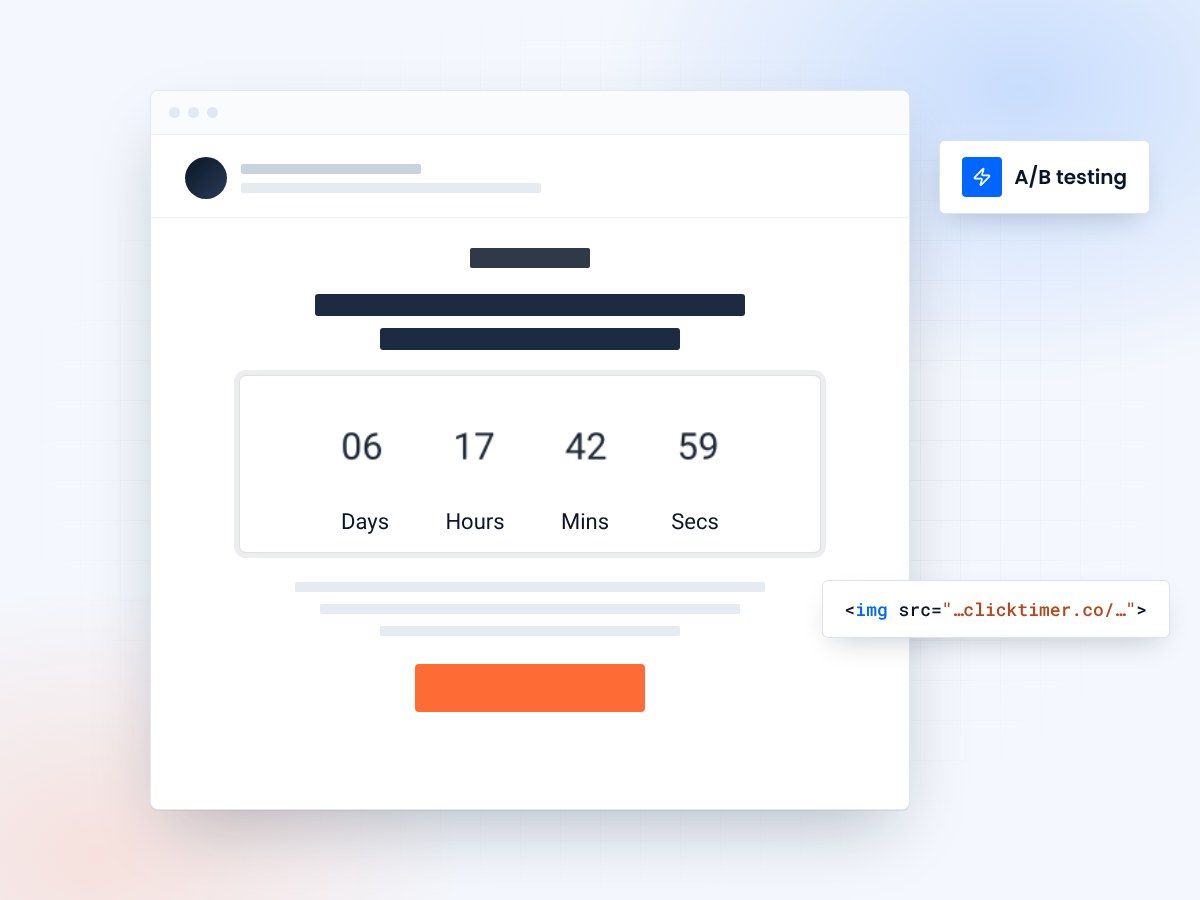
- Test position, duration, color and copy
- One variable per test
- 10,000 free impressions a month
- No watermark, even on the free plan
Why A/B testing timers matters
Countdown timers are powerful conversion drivers, but their effectiveness depends on how you implement them. The best approach? A/B testing. By systematically testing different timer configurations, designs, and messaging, you'll discover exactly what converts best for your specific audience. This guide walks you through the complete A/B testing framework for email countdown timers.
Countdown timers aren't one-size-fits-all. What converts for a SaaS product won't work the same way for an e-commerce business. Your audience, industry, and offer type all influence which timer variables matter most. A/B testing removes the guesswork and lets data guide your decisions.
Key variables to test
Not all timer variables matter equally. Focus on these high-impact elements that significantly influence conversion:
| Variable | Test options | Expected impact |
|---|---|---|
| Countdown Duration | 24h vs 48h vs 72h | High |
| Timer Color | Red vs Orange vs Blue | High |
| Timer Position | Above fold vs Below headline | Very high |
| Timer Size | Small vs Medium vs Large | High |
| Copy + Timer Combo | "Sale ends in 23:47" vs "Last 16 hours" | Very high |
| Timer Format | HH:MM:SS vs Days left vs Percentage | Medium |
| Supporting Text | With scarcity message vs Without | High |
| CTA Placement | Above timer vs Next to timer vs Below | Very high |
Where the timer goes and how long it runs
Test strategy #1: timer position
Where you place the countdown timer dramatically impacts visibility and action. Test placing timers in different locations:
- Above the fold (immediately visible without scrolling)
- Right below the headline
- Between headline and main copy
- Above the call-to-action button
Most tests show that placing timers above the fold, right after the headline, delivers the highest engagement. Prospects see urgency immediately and are more likely to continue reading.
Test strategy #2: countdown duration
The length of your countdown window affects both urgency and conversion. Test these common durations:
- 24-hour countdown (maximum urgency, lowest volume)
- 48-hour countdown (balanced urgency and reach)
- 72-hour countdown (broader reach, less urgency)
For most industries, 48 hours is the sweet spot. It creates genuine urgency while giving enough time for emails to reach inboxes and prospects to make decisions. Flash sales favor shorter windows; webinar registrations favor longer windows.
Test strategy #3: timer design and color
Visual design influences how urgently prospects perceive the timer. Test different color schemes:
High urgency (red/orange)
Signals danger and immediate action. Works well for flash sales and time-critical offers. May come across as aggressive for some audiences.
Medium urgency (blue/yellow)
Balanced approach that draws attention without being pushy. Works well for product launches and webinar registrations. Professional and trustworthy.
Test strategy #4: messaging + timer combination
Pairing the countdown timer with supporting copy dramatically improves results. Test different messaging approaches:
A/B testing framework
Follow this structured approach to run successful A/B tests:
- Define Your Hypothesis"I believe moving the timer above the fold will increase click-through rate by 15%."
- Set Up the TestSplit your audience 50/50. Variant A: Timer in current position. Variant B: Timer above fold. Ensure both variants reach similar audience size and segments.
- Run the TestSend both variants to roughly equal numbers at the same time. Run for a full 48-72 hours to capture different time zones and reading patterns.
- Analyze ResultsCompare click-through rate, conversion rate, and unsubscribe rate. Look for statistical significance (at least 100+ conversions per variant). Document learnings.
- Implement WinnerDeploy the winning variant to your full audience in the next send. Continue testing the next variable.
Create a countdown for your next test
Create one timer per variant in about a minute. 10,000 free impressions a month, no credit card.
Already have an account?
Send Test Email
Enter your email to receive a preview of how this countdown looks in email campaigns.
Common testing questions
How large should my test segments be?
Test segments should be large enough to reach statistical significance. Minimum 100-200 conversions per variant. For smaller lists, use percentage splits (10% variant A, 10% variant B) to ensure adequate sample size. Larger tests are always better.
What metrics should I track?
Primary: click-through rate and conversion rate. Secondary: unsubscribe rate, bounce rate, and time-to-conversion. Track all metrics to understand complete impact. A test that increases clicks but increases unsubscribes is a net loss.
How long should I run tests?
Run tests for at least 48-72 hours to capture global time zones and natural reading patterns. Longer tests (1-2 weeks) are better if you're testing timer duration, as different prospects engage on different schedules.
Should I test multiple variables at once?
No. Test one variable at a time to isolate what drives improvement. Multi-variable tests make it impossible to know which change caused results. Run sequential single-variable tests over time instead.
Try ClickTimer free
Create your first countdown timer in 30 seconds and start A/B testing with your email campaigns.