Countdown Timers with Zapier: Automation Guide
Connect ClickTimer to your favorite tools and automate timer creation with Zapier.
Create Your Timer — Free 10,000 free impressions a month · No watermark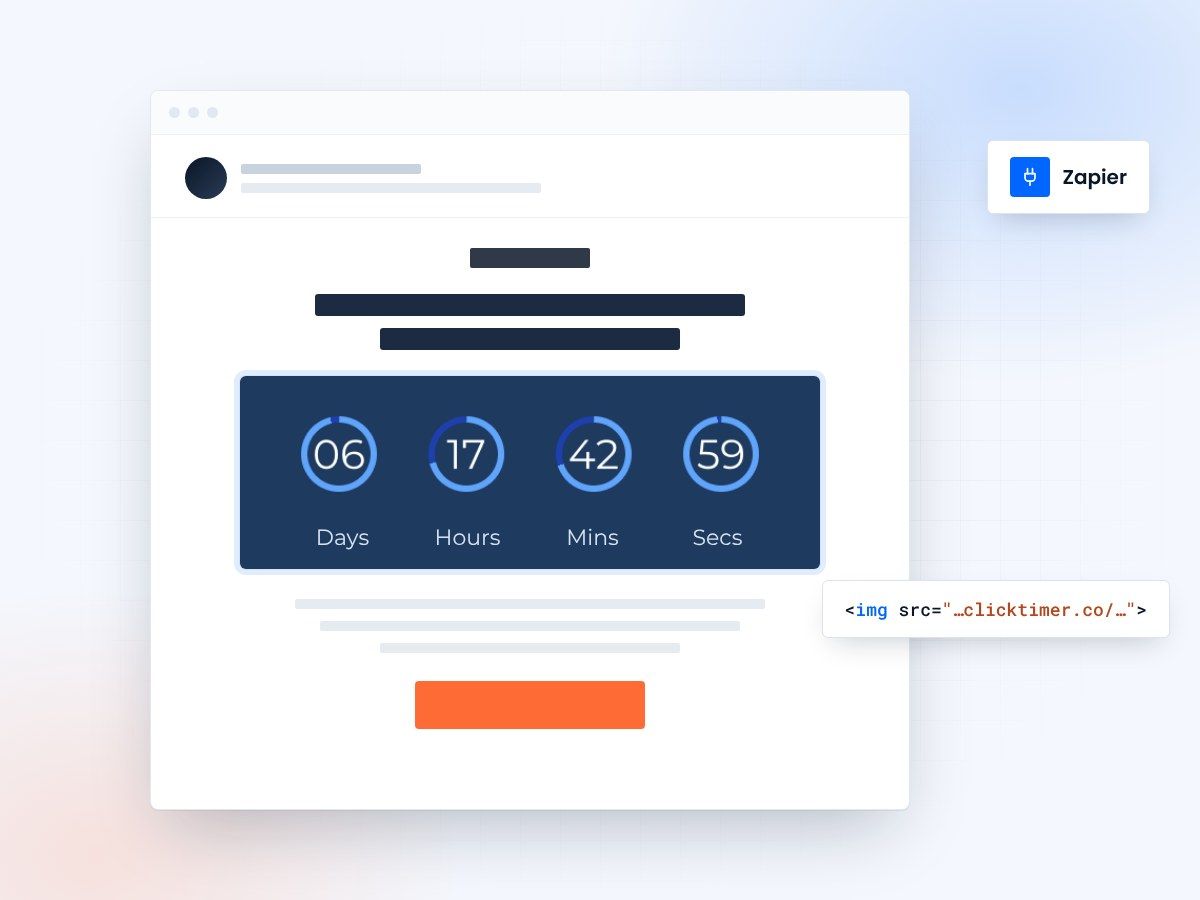
- Trigger timers from 5,000+ apps
- No custom code or API authentication
- 10,000 free impressions a month
- No watermark, even on the free plan
Why automate countdown timers with Zapier?
Manual countdown timer creation works for one-off campaigns, but what about automated flows? When a customer abandons their cart, when a free trial starts, when an event registration comes in — these are moments where a personalized countdown timer can dramatically boost conversions, but only if it's generated automatically.
Zapier connects ClickTimer's URL-based timer system to 5,000+ apps, letting you trigger countdown timer generation from virtually any event in your tech stack. A new Shopify order triggers a shipping deadline timer. A HubSpot form submission creates an event countdown. A Stripe subscription start generates a trial expiration timer. The possibilities are limited only by your workflow imagination.
Since ClickTimer timers are generated via URL parameters, Zapier integration is straightforward — no custom code, no API authentication. You just construct the timer URL dynamically using Zapier's data mapping, then pass it to your email tool.
How the integration works
The core concept is simple: ClickTimer generates timers via URL parameters. Zapier can construct URLs dynamically. Combine the two, and you get automated, personalized countdown timers triggered by any event.
| Trigger App | Event | Timer Use Case | Email Action |
|---|---|---|---|
| Shopify | Abandoned cart | Cart recovery deadline | Klaviyo / Mailchimp |
| Stripe | Trial started | Trial expiration countdown | SendGrid / HubSpot |
| Eventbrite | Event created | Registration deadline | Mailchimp / ActiveCampaign |
| HubSpot | Deal stage change | Proposal expiration | HubSpot email |
| Calendly | Meeting booked | Appointment reminder | Gmail / Outlook |
Step by step: building your first timer Zap
Let's walk through a concrete example: creating a free trial expiration countdown timer that's automatically generated when a new user signs up.
- Set up the triggerChoose your app (e.g., Stripe) and select "New Subscription" as the trigger event. This fires every time someone starts a trial.
- Calculate the deadlineAdd a Zapier Formatter step to calculate the trial end date. If your trial is 14 days, use "Date/Time → Add/Subtract Time" to add 14 days to the subscription start date. Format the output as the date/time string ClickTimer expects.
- Construct the timer URLAdd another Formatter step (Text → Template) to build the full ClickTimer URL with your styling preferences and the dynamic deadline date from Step 2.
- Pass to your email toolAdd an action step to update the user's profile in your ESP with the timer URL as a custom field. Then reference that custom field in the HTML block of your trial expiration email sequence.
Create your Zapier countdown
Design the timer once, then let Zapier build a personal URL for every recipient. Setup takes about a minute.
Already have an account?
Send Test Email
Enter your email to receive a preview of how this countdown looks in email campaigns.
Advanced automation patterns
Once you've mastered the basic trigger → URL → email pattern, you can build more sophisticated automations. Multi-step Zaps can create different timer styles based on customer segments, generate multiple timers for a drip sequence (each with a different deadline), or update timers when deadlines change.
Escalating urgency for abandoned carts
For e-commerce brands on Shopify, a powerful pattern is the "escalating urgency" sequence: when a cart is abandoned, create three timers — one for 24 hours, one for 12 hours, and one for 2 hours — and use them in a three-email recovery flow. Each email shows a shorter countdown, increasing urgency with each touchpoint.
Renewal countdowns for memberships
For membership-based businesses, automate renewal countdown timers that trigger 30, 14, and 3 days before expiration, each with a personalized countdown to the exact renewal date.
Zapier integration quick tips
- URL encoding: Make sure special characters in the timer URL are properly encoded. Zapier's Formatter has a "URL Encode" utility for this.
- Timezone handling: Always include the timezone parameter in your timer URL. Use the recipient's timezone from your CRM data when possible.
- Testing: Use Zapier's test feature to preview the generated timer URL before going live. Paste the URL in a browser to verify the timer renders correctly.
- Cost efficiency: ClickTimer's pay-as-you-go model means you only pay for actual impressions, not for timer creation. Generate as many timer URLs as you need — you're only charged when they're viewed.
- Fallback: Set up a Zapier path for cases where the deadline date is missing or in the past, to avoid sending broken timers.
Connecting ClickTimer to popular platforms via Zapier
While ClickTimer works natively with every ESP (since it's just an HTML snippet), Zapier adds the automation layer. Here are platform-specific tips for the most popular integrations:
Klaviyo
For Klaviyo: use Zapier to update a custom property on the Klaviyo profile with the timer URL, then reference that property in your flow email template.
ActiveCampaign
For ActiveCampaign: store the timer URL in a custom field and use personalization tags in your automation emails.
HubSpot
For HubSpot: update a contact property and use HubL tokens in your email template.
Frequently asked questions
Is there a native ClickTimer app on Zapier?
ClickTimer uses URL-based generation, so you don't need a dedicated Zapier app. Use Zapier's built-in Formatter to construct timer URLs — it's simpler and more flexible than a dedicated integration.
Does this cost extra beyond my Zapier plan?
No additional cost for timer creation. You pay for Zapier tasks as normal, and for ClickTimer impressions when the timers are actually viewed (free up to 10K/month, then €0.23/10K).
Can I use Make (Integromat) instead of Zapier?
Absolutely. The same URL-construction approach works in Make, n8n, Tray.io, or any automation platform. The principle is the same: build the timer URL dynamically and pass it to your email tool.
How many unique timers can I create?
Unlimited. Each unique URL is a unique timer. You only pay for impressions (email opens), not for the number of timers created. This makes personalized, per-recipient timers completely viable at scale.
Automate your first countdown today
Create your timer, then let your Zap build each recipient's version. No subscription, prepaid credits that never expire.